Clothing Photography Studio Without the Studio: What a Pro Set Does and How to Recreate It on a Beds
A clothing photography studio is not a magic room. It is four controllable things — a backdrop, soft directional light, consistent shadows, and a model with styling. Here is how to rebuild three of them at home with a window, a bedsheet, a hanger, tape and an iron, and what to do
In this article
A clothing photography studio is not a magic room. It is four controllable things: a plain, seamless backdrop; soft light coming from one direction; shadows that fall the same way every time; and a model with styling and someone adjusting the garment between frames. You can rebuild the first three at home this week with a window, a bedsheet, a hanger, tape and an iron. The fourth is the one that costs real money — and it is also the one you can now replace from a phone photo.
Here is what each part actually does, and how to fake it well.
What a clothing photography studio actually gives you
A studio is a room where nothing is accidental. Four things are under control:
- A plain, seamless backdrop. No bed, no doorframe, no shoes on the floor behind the model.
- Soft light from one direction. A large diffused source, so fabric gets gentle shading instead of flat glare.
- Shadows that fall the same way every time. This is why twenty pieces shot in a studio look like one collection instead of twenty separate sellers.
- A model, styling and time. Someone wearing the piece, pinned and adjusted, shot from several angles, with an editor cleaning up afterwards.
When you pay a studio, most of the invoice is the fourth item. The first three are discipline, not equipment — and you can copy them at home.
1. The backdrop: a bedsheet, a wall and tape
The backdrop has one job: remove everything the buyer should not be looking at, so her eye goes to the garment.
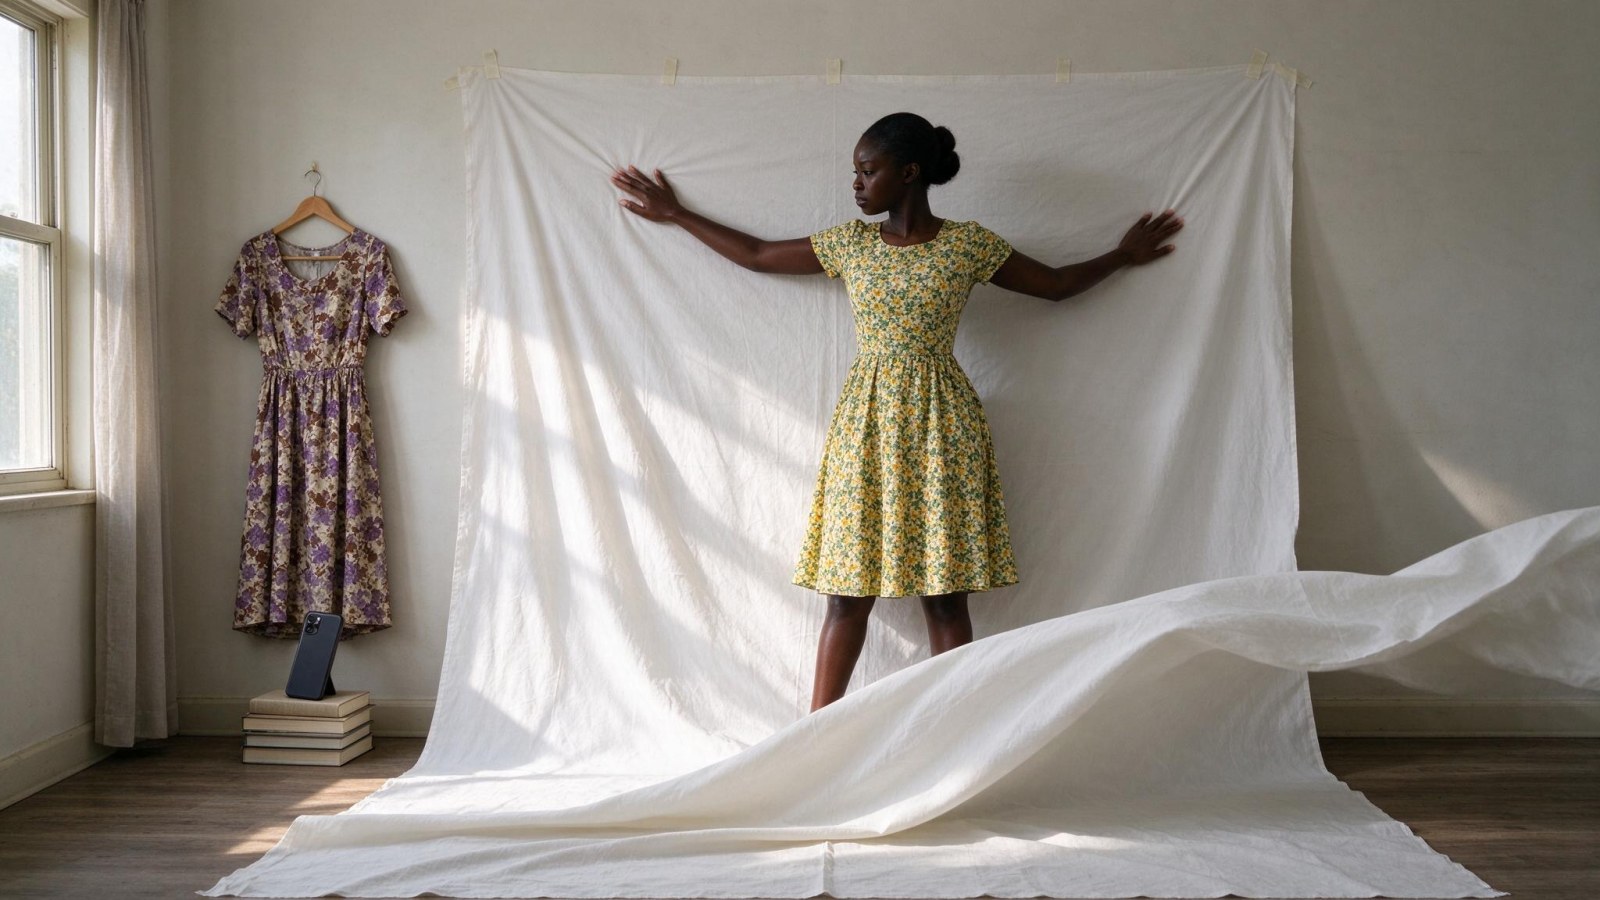
- Iron the sheet first. On a phone screen, a crease reads as a stain. Ten minutes with an iron saves the whole shoot.
- Pick a wall with nothing behind the camera. No window facing you, no brightly painted wall bouncing colour back onto the fabric.
- Tape the top edge to the wall at about chest height, using masking tape so it does not mark the paint.
- Let the sheet curve onto the floor or a table instead of stopping at a hard corner. That curve is what makes a bedroom look like a studio — the corner line is the giveaway.
- Keep the garment a hand-span away from the sheet. Otherwise your own shadow lands on the backdrop and looks like a smudge.
- Stick to white, cream or light grey. Prints and strong colours compete with the garment and change how buyers read the fabric colour.
If you are shooting flat lay instead of on a hanger, the same sheet works — there is a full step-by-step in Lay Flat Clothing Photography on a Bedsheet.
2. The light: one window, one direction, no direct sun
Studio light looks expensive because it is soft and comes from one side. Soft light wraps around the fabric; hard light makes black shadows and blown-out white areas your phone cannot recover.
- Shoot near a window, never in direct sunlight. Direct sun through glass gives hard shadows and turns white fabric into a white blob with no detail.
- Turn the garment so the light rakes across it. Side light shows texture — lace, ribbing, the sheen on satin. Flat front light hides all of it.
- Diffuse the window if the light is harsh. Tape a plain white cloth or a spare sheet over the frame. You lose brightness and gain softness.
- Turn off the ceiling bulb and the phone flash. Two light sources of different colours give a colour cast that is very hard to fix later.
- Fill the dark side. Stand a white board, a piece of cardboard painted white, or another sheet on the opposite side of the garment so the shadow side is not black.
- Lock focus and exposure. Tap and hold on the garment, then drag the exposure slider down slightly so white fabric keeps its detail.
- Shoot at the same time of day each time. Window light changes through the day, and a drop shot at 9am will not match one shot at 4pm.
3. The shape: hanger, stuffing and an iron
Most cheap-looking clothing photos are a garment problem, not a camera problem. Creases, sagging shoulders and sleeves hanging dead make a good piece look used.
- Iron or steam every piece before it goes near the camera. No exceptions, including the back.
- Use a hanger that matches the shoulder width. Too wide leaves dents at the shoulder tips; too narrow lets the shoulders collapse inward.
- Stuff sleeves and shoulders lightly with tissue paper or a small towel so the garment holds a body-like shape instead of hanging flat.
- Clip the back. A bulldog clip or a strip of tape behind the garment pulls it snug to the hanger without showing in the photo.
- Close what should be closed. Buttons done up, zip up, collar sitting flat, belt loops lined up.
- Check the hem and sleeves on the screen before you move on. Fix, reshoot, then move to the next piece.
4. The model problem — and the three ways around it
The honest gap: a studio's biggest cost is the model, the styling and the time, and that is the part a bedsheet cannot fix. You have three routes.
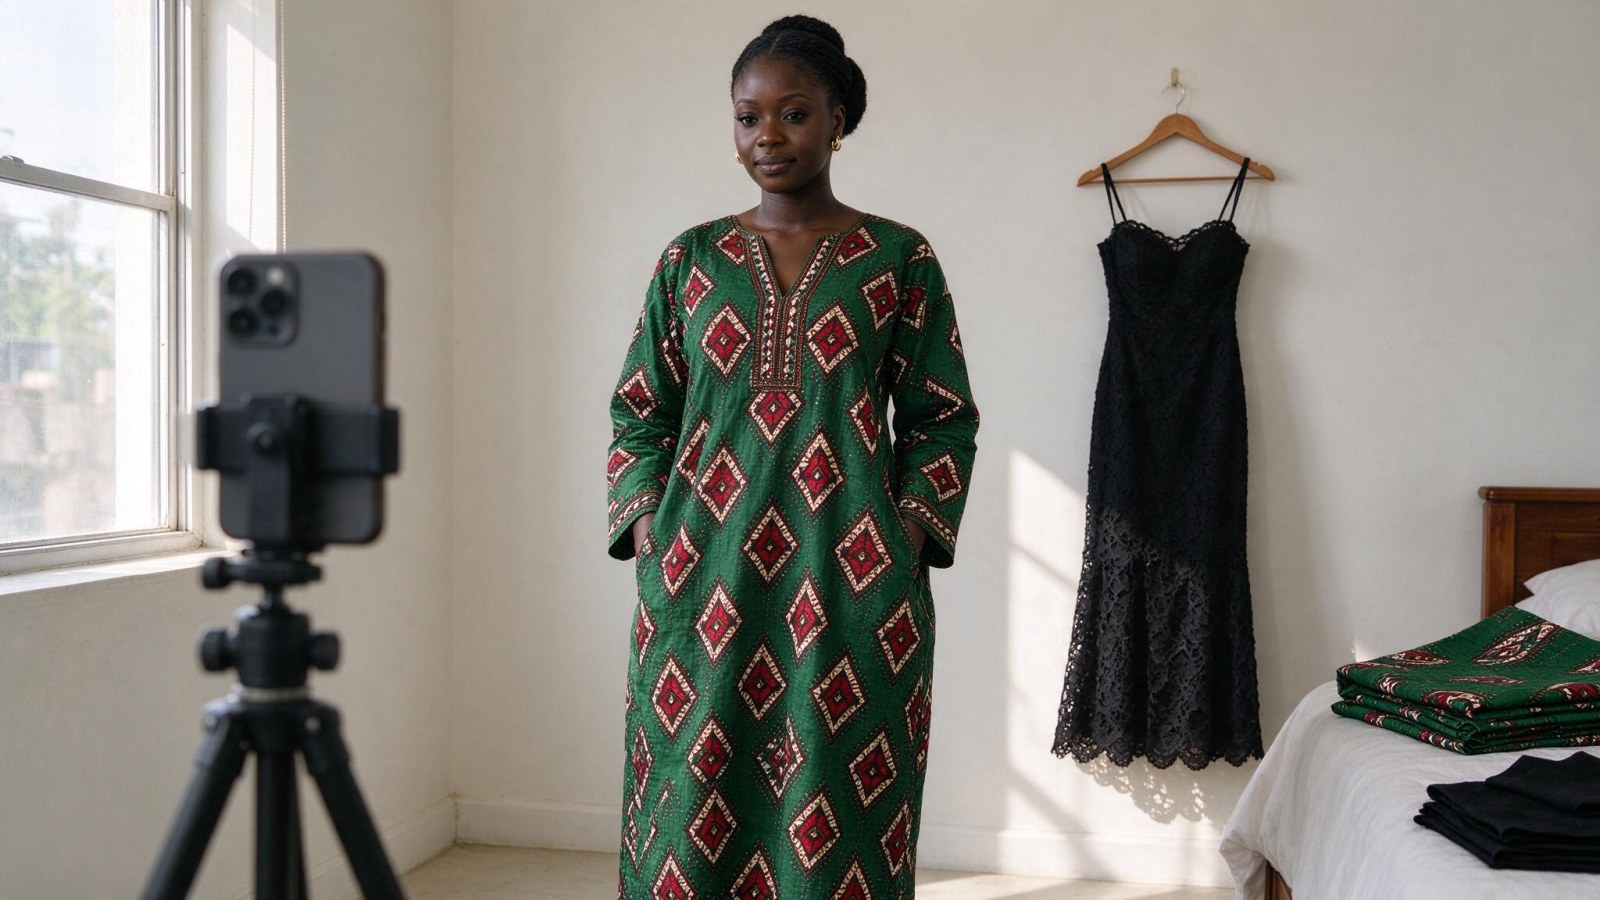
Option A: shoot on yourself or a friend. Free, and buyers respond to a real body in the garment. But it needs a second person, good light and repeatable posing, and it does not scale across a twenty-piece drop in one afternoon.
Option B: hire a local studio or model for a day. Ask for a written quote that answers these before you agree:
- Is the rate per look or per day, and how many pieces are included?
- Is the model included in the price, or do you bring your own?
- Is steaming and styling included, or is that extra?
- Is editing and retouching included, and how many finished images do you get back?
- How long until delivery?
- Can you use the images in Instagram and TikTok ads, not just on your grid?
- What happens if a piece does not work on the model?
Then divide the total by the number of usable images. That per-image number is the only fair comparison.
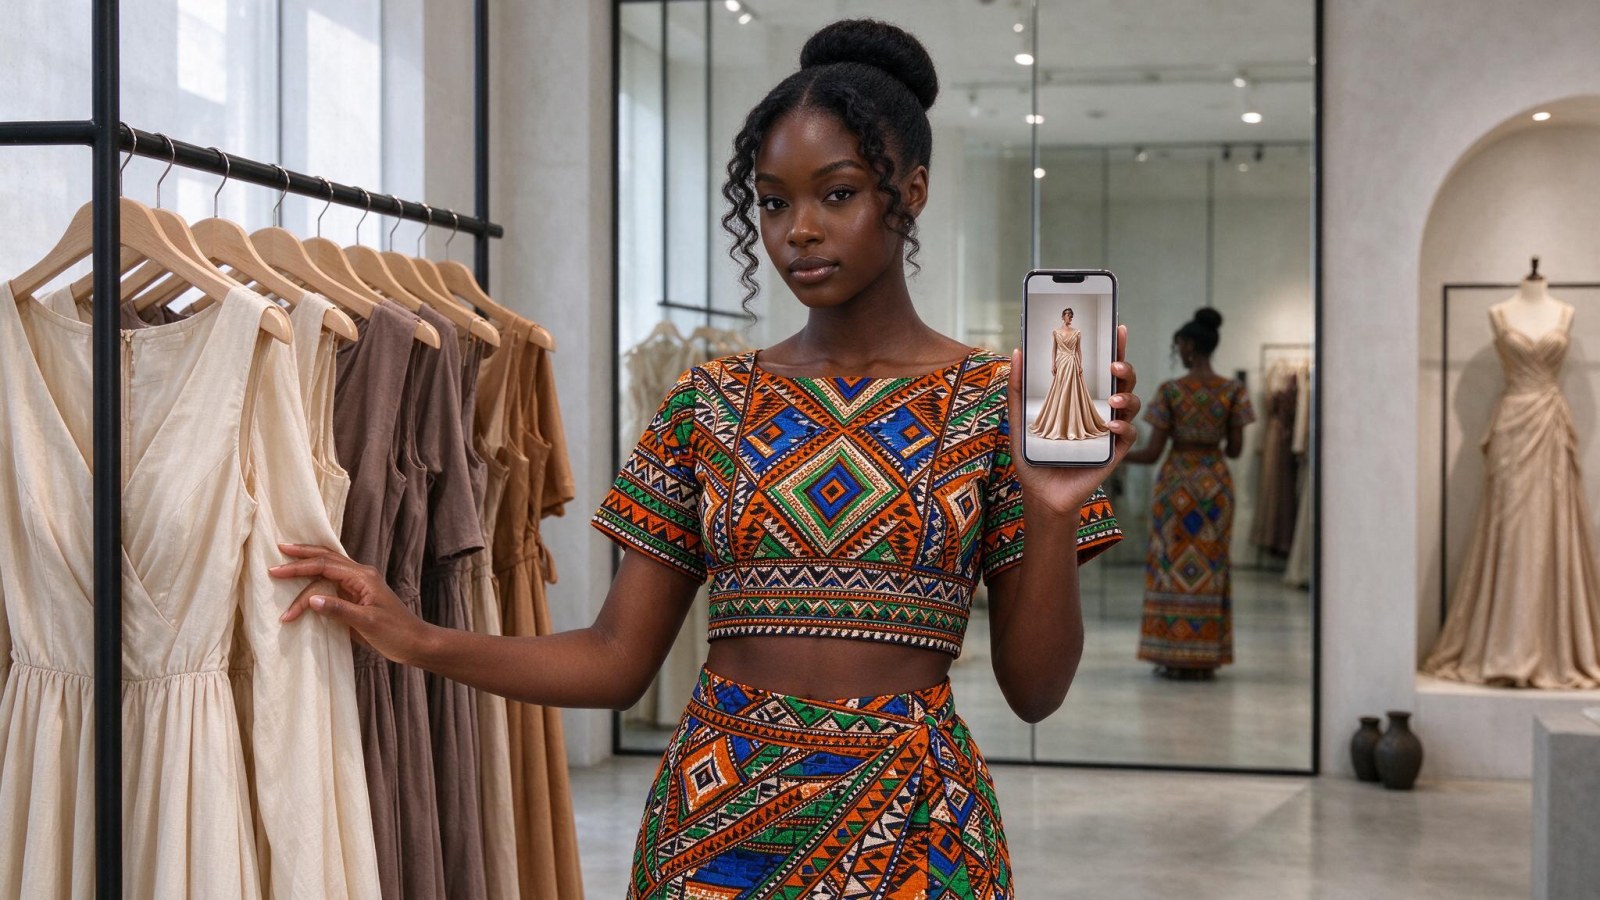
Option C: generate the model. You shoot the garment on a hanger or flat on the sheet, and an AI product photography tool puts it on a model or into a clean studio scene. No second person, no booking, no shoot day. More on that below.
5. Consistency is what makes a page look like a brand
Clothing brand photography is repetition more than creativity. A buyer scrolling your grid should feel the same hand behind every post.
- Pick one setup and shoot the whole drop in one session, in one order, without moving the sheet or the hanger hook.
- Keep the same crop and the same background colour across the grid. Changing backdrop halfway through a drop makes the page look like a market stall rather than a label.
- Keep a simple shot list per garment: front on hanger, back, close-up of fabric or a detail like the neckline or buttons, and one on-model or lifestyle image.
- Leave space around the garment. The Instagram grid, the WhatsApp catalogue and TikTok covers all crop differently, and a garment that fills the frame edge to edge will lose its sleeves somewhere.
If you want the full plan for launching a drop with model images, read Clothing Brand Photoshoot on a WhatsApp Budget.
6. When the home setup is not enough: recreating the studio look from a phone photo
A window and a bedsheet get you a clean, honest photo. They do not get you a model, a lifestyle scene, or a seamless studio-white background with no wall, no floor and no tape line.
That is where WonderClips fits. You shoot the garment on a hanger or flat on the sheet, upload that phone picture, and the app turns it into a studio-quality image or an on-model photo with an AI model — plus lifestyle scenes and clean studio shots, sized for Instagram, TikTok and WhatsApp. It works for clothing, footwear, bags and accessories, jewelry, watches, wigs and hair, skincare and cosmetics.
On cost: there is a free trial of 5 credits for 3 days, no card needed. Starter is $12 a month for 80 credits and Pro is $29 a month for 250. A standard photo costs 1 credit and a studio-quality photo costs 5, so a Starter plan covers 16 studio-quality images a month. Compare that with one studio quote for the same garment. You can see before-and-after examples on the transformations page and the plans on the pricing page.
7. Your next step before the next drop
- Iron one garment from the next drop.
- Tape the sheet to the wall and curve it onto the floor.
- Shoot it by the window on your phone — front, back, one close-up of the fabric.
- Generate one studio-quality image and one on-model image from that same phone photo.
- Get one local studio quote for the same garment, and ask the questions in section 4.
- Put all three side by side and decide with your eyes and your budget.
The goal is not a perfect studio. It is photos good enough that a buyer on WhatsApp trusts the garment before she asks the price.
Frequently asked questions
Do I need a professional camera to shoot clothing for my online shop?
No. A recent phone is enough. What separates a studio-looking photo from a snapshot is the backdrop, the direction of the light, the shape of the garment and consistency between shots — not the camera body. Fix those four and your phone photos will look like a different business.
What is the best backdrop colour for clothing product photography?
White, cream or light grey. Neutral backgrounds do not compete with the garment and do not bounce colour onto the fabric. Avoid prints, strong wall colours and pure black, which makes dark garments disappear.
How many credits does one clothing photo use in WonderClips?
A standard photo costs 1 credit and a studio-quality photo costs 5. The free trial gives you 5 credits for 3 days with no card. Starter is $12 a month for 80 credits and Pro is $29 a month for 250.
Can I use AI-generated model photos in my WhatsApp catalogue and on TikTok?
Yes. Images are sized for Instagram, TikTok and WhatsApp, so the same garment can go into your catalogue, your grid and a TikTok cover without cropping problems.
How do I compare the cost of a local studio with AI product photos?
Get a written studio quote, then divide the total by the number of finished, usable images you will actually receive. Compare that per-image figure with the credit cost of a studio-quality image. That is the only comparison that reflects what you are really paying.