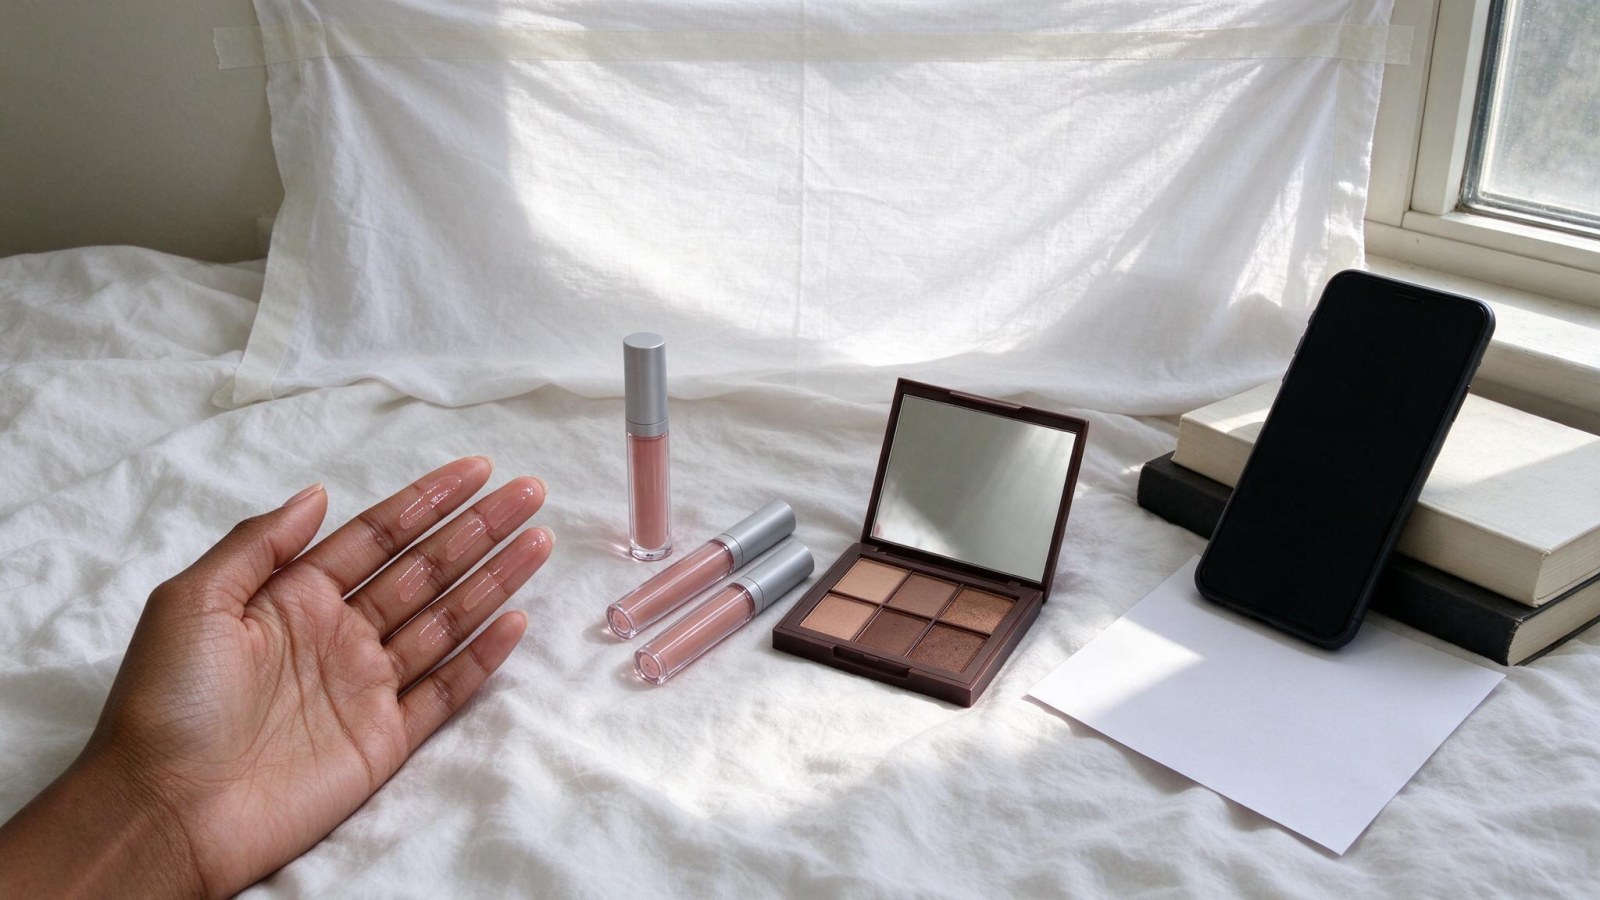
Eye Shadow Photo Guide for Beauty Sellers: How to Show Pigment, Shimmer and Fallout on a Phone
A phone-only guide to eyeshadow photos that show real pigment: closed palette, open pans, deep-skin swatches, shimmer catchlights and a simple eye look.
In this article
To get an eye shadow photo that shows real pigment, you need three things: daylight from one window, a background that contrasts with the palette, and an exposure set on the shadow itself rather than on the whole frame. Get those right and every other shot — closed palette, open pans, swatch, shimmer — falls into place. Here is the full sequence, shot on a phone, with no studio.
Why eye shadow looks dull in phone photos (and the three fixes)
You know the moment. The palette looks rich in the pan — deep burgundy, warm bronze, a shimmer that catches the light — and then the photo comes out muddy, chalky or washed out.
The camera is not broken. It is doing what it was told.
It averages the whole frame. Your phone sets exposure for everything in the picture at once. A bright palette on a white background gets pulled down and looks grey. A dark palette on a dark surface gets pushed up and looks dusty. The camera is balancing, not judging colour.
Mixed light shifts the shade. Daylight from the window plus a yellow ceiling bulb plus a phone screen gives the camera two or three different whites to choose from. Auto white balance picks one, and your peach turns orange while your taupe turns grey.
Direct flash flattens texture. On-camera flash hits the pan head-on, kills the pressed pattern and turns glitter into white dust.
The three fixes:
- Contrast. Put the palette against a background that is clearly lighter or clearly darker than it is.
- One light source. Daylight from a single window, every other light off.
- Exposure on the shadow. Tap the pan on screen, then drag the slider down until the colour looks like the colour.
That is most of cosmetic product photography on a phone, honestly. The rest is order and patience.
Set up in 10 minutes: light, background and phone settings
You do not need equipment. You need a window, a sheet of card and something steady to rest the phone on.
Light
- Shoot in daylight, mid-morning or mid-afternoon, when the sun is not streaming straight in.
- Stand side-on to the window so the light rakes across the palette. This is what shows pressed texture and shimmer.
- Turn off ceiling lights, ring lights and any other bulb. One colour of light only.
- If the sun is harsh, hang a white cloth or a sheet of paper in the window to soften it.
Background
- Matte white, mid-grey or black card, or plain paper. Matte, not glossy — gloss gives you reflections of the room.
- Dark surface for light, bright and glittery shades. Light surface for dark packaging.
- Never use coloured cloth. A red bedsheet bounces red onto a neutral palette, and nobody can tell what shade it really is.
Phone
- Wipe the lens with a microfibre cloth. This alone fixes a lot of soft photos.
- Use the main 1x lens. No digital zoom — it smears fine powder texture.
- Flash off.
- Tap the pan to focus, then drag the exposure slider down a notch.
- Press and hold to lock focus and exposure so it does not jump between frames.
- Turn the grid on to keep the palette straight.
Steady it. Stack books or a box to the height you need and rest the phone on it, parallel to the palette for overhead shots. Handheld overhead shots are almost always slightly crooked and slightly soft.
Clean first. Clean, dry hands. Wipe the compact mirror and any foil with a microfibre cloth. Shoot a fresh palette where you can — a used one with powder on the edges reads as second-hand.
For the full phone setup for cosmetics, our guide to a cosmetic photoshoot on a phone goes deeper on lighting and editing. The product photography tips section has more phone technique if you want it.
Shot 1: the closed palette (your thumbnail)
This is the image buyers see first in a feed, a WhatsApp catalogue or a DM. It is how they recognise the brand on the shelf.
- Shoot straight overhead, or at a slight angle if the compact has a raised logo.
- Fill about 80% of the frame, with even margins on all sides.
- Keep the palette edges parallel to the frame edges. Crooked product shots look rushed.
- Contrast rule: dark packaging on a light background, light packaging on a dark one.
- Kill glare on mirrors, foil and logos by tilting the palette a few degrees until the hotspot slides off the text.
One clean frame is enough. Do not over-shoot this one.
Shot 2: the open palette (the pigment shot)
This is the shot that sells the palette: the shade range, the number of pans, the mix of matte and shimmer.
- Straight overhead, phone parallel to the palette, so the pans stay square and equal.
- Stand to the side so your own shadow does not fall across the pans. This is the most common mistake in makeup product photography.
- Let the light come in at a low angle across the surface so the pressed texture and any embossing shows.
- Take two frames: one flat and even for true colour, one tilted slightly for texture.
Fallout and dusty pans
Tap the palette gently, blow off loose powder and wipe the edges with a dry tissue or a clean fan brush. Shoot before you swatch if you can, not after.
And do not push saturation in editing. A buyer who receives a duller shade than the photo returns it or comments publicly. If the pan is sharp and the colours are true but the background is a bedsheet and the light is flat, that is the point where WonderClips helps: upload the phone photo and get a clean studio shot or a lifestyle scene instead of re-shooting.
Shot 3: the swatch — showing pigment on deep skin tones
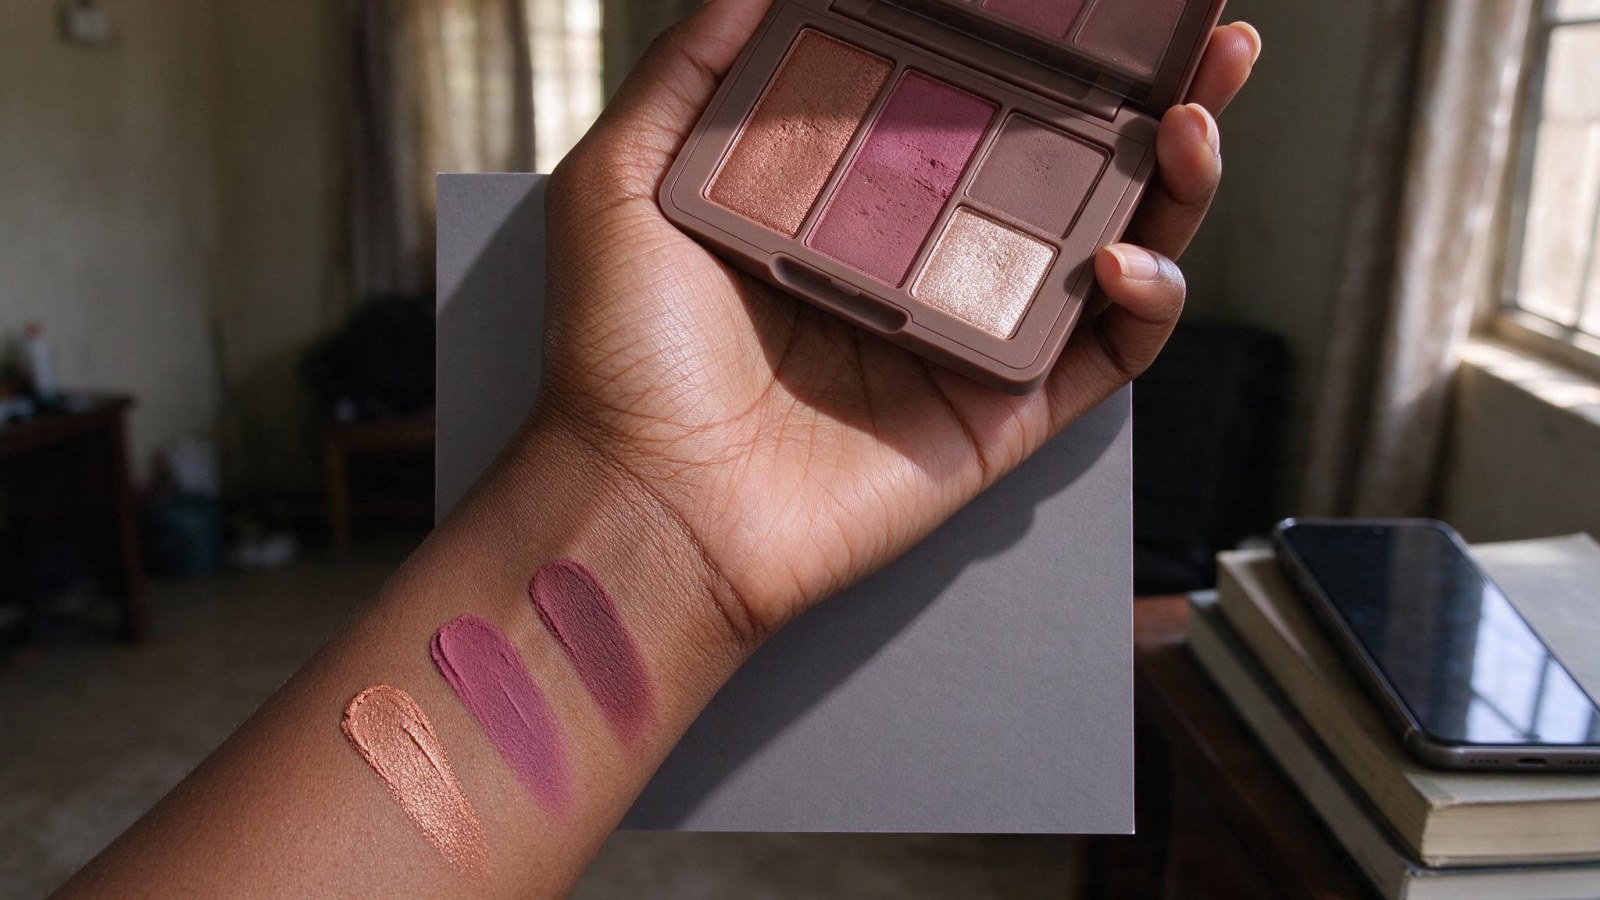
A swatch is the single most useful photo for a buyer choosing a shade. It shows payoff, texture and finish in one stripe.
Method
- Clean, dry skin. Moisturiser that has fully absorbed, not oil.
- One shade per swatch, three to five in a row with a small gap between them.
- Label them with small paper tags, or list the names in order in the caption.
- Shoot while the swatch is fresh, before it creases.
- Arm or forearm gives a longer, cleaner stripe and a steadier frame. A finger swatch shows payoff well but is harder to shoot — whichever you use, say so.
- State whether the swatch is dry or wet, and label it if you show both.
Deep skin tones
- Expose for the skin, not the background. Tap on the arm and drag the exposure down until the skin looks like skin, not grey.
- Put a white or mid-grey card behind the arm as a colour reference, so the camera is not guessing.
- Side light, never direct flash head-on.
- Do not brighten the arm in editing. It turns deep skin ashy and makes pigment look chalky — the opposite of what you are trying to show.
- If you sell to both lighter and deeper skin, show the shade on both, or say plainly which skin tone the swatch is on.
Shot 4: the shimmer catchlight (making glitter look like glitter)
Shimmer, metallic and glitter shades are what buyers most want to see, and the ones phones ruin most often.
- Use one small light source at a low angle across the pan — the edge of a window, or a small lamp. Move the light, not the phone, until the sparkle appears.
- Keep the exposure slightly low so highlights do not clip to flat white.
- A dark background makes sparkle read better than a white one.
- Do not use direct on-camera flash. It flattens the texture and blows glitter out to white dust.
- Shoot a three to five second video clip as well. Sparkle reads better in motion, and the clip is ready for Reels, TikTok or a WhatsApp status.
If the glitter looks like white dust, the light is too flat or the exposure is too high. Fix the light first.
Shot 5: a simple eye look (and what to do if you do not want a face in the photo)
An eye look shows how the shade wears and helps a buyer imagine it on themselves. It is also strong material for Reels and TikTok.
- Keep it repeatable: one or two shades, clean skin, neat brow, natural light.
- Face the window, phone at eye level, close crop on one eye.
- No beauty filter that changes shade colour. Say so plainly in the caption — buyers notice.
- If you do not want to appear on camera, do not fake it. Use the arm swatch and the shimmer shot instead, or crop tight to the eye area only.
- Take a still and a short clip from the same setup.
- Caption honestly: shade names, finish, and whether it is one coat or two.
Posting order, sizes and your next step
Carousel order: closed, open, swatch, shimmer, eye look. The first image is the thumbnail, so lead with the cleanest one.
Sizes: 4:5 portrait for the Instagram feed; 9:16 for Stories, WhatsApp status, Reels and TikTok. Keep the palette centred and leave space at the top and bottom for text.
Keep a true-colour version for WhatsApp DMs. Do not send the heavily edited one to a buyer who is trying to match a shade.
Caption: shade names, finish, price in naira only if you are certain, how to order, and a save or share prompt. The social selling section has more on captions and catalogue posts.
Where WonderClips fits: if your closed or open shot is sharp but the background is a bedsheet and the light is flat, upload it and get a clean studio shot or a lifestyle scene sized for Instagram, TikTok or WhatsApp. You can see what phone photos turn into on the transformations page.
Next step: pick one palette today. Shoot the closed, open and swatch frames in the next hour of good daylight. Upload the best one to WonderClips — the free trial gives you 5 credits for 3 days with no card — and make a studio hero image plus a lifestyle image. A standard photo costs 1 credit and a studio-quality photo 5 credits; plans are on the pricing page. More beauty-specific guides are in beauty photography.
Frequently asked questions
How do I photograph eyeshadow without it looking dull?
Shoot in daylight from one window with every other light off, put the palette against a background that clearly contrasts with it, and tap the pan on screen before dragging the exposure down a notch. Lock focus and exposure so it does not shift between frames, and keep the phone on a stack of books rather than in your hand.
How do I show shimmer and glitter in a phone photo?
Use one small light source at a low angle across the pan and move the light — not the phone — until the sparkle appears. Keep the exposure slightly low so highlights do not clip to white, and use a dark background. Avoid direct on-camera flash, which flattens texture and turns glitter into white dust. A short video clip usually shows sparkle better than a still.
How do I swatch eyeshadow on deep skin tones?
Expose for the skin, not the background: tap on the arm and drag the exposure down until the skin looks like skin. Put a white or mid-grey card behind the arm as a colour reference, light from the side rather than with direct flash, and do not brighten the arm in editing — it turns deep skin ashy and makes pigment look chalky.
What background should I use for makeup product photography?
Matte white, mid-grey or black card, or plain paper. Use a dark surface for light, bright and glittery shades and a light surface for dark packaging. Avoid coloured cloth, which bounces its own colour onto the palette and changes how the shades read.
How many photos should I post for one eyeshadow palette?
Five is a good carousel: the closed palette as the thumbnail, the open palette, a swatch, a shimmer catchlight and a simple eye look. Keep a true-colour version of the swatch and open shots for WhatsApp DMs, where a buyer may be matching a shade.