Cosmetic Photoshoot on a Phone: A Simple Step-by-Step Guide
Shoot lip gloss, palettes and foundation on a phone with true colour and no glare — then turn the best frame into a clean studio listing image.
In this article
A cosmetic photoshoot on a phone comes down to three things: light you can control, a background that does not compete with the product, and frames that answer the buyer's real question — is this the exact shade I want? With a window, a white sheet and a steady surface, lip gloss, eyeshadow palettes and foundation bottles can look clean and true to colour. This guide walks through a repeatable shoot you can finish in under an hour, then shows how to turn the best frame into a studio-quality listing image.
What a Cosmetic Photoshoot Must Show Before a Buyer Orders
Before a buyer sends a message on WhatsApp or taps through an Instagram post, she needs to answer a few questions: the exact shade, the finish (matte, gloss, satin, shimmer), the texture, the packaging, and roughly how big the product is.
Plan three shot types for every product:
- A clean flat lay — the product alone on a plain background, label facing the camera.
- A swatch or texture close-up — the shade on skin, or a drop of foundation spread thin.
- An in-use or lifestyle frame — the product in a setting that suggests how it is used, such as a dressing table or held in a hand.
Shoot vertical frames. WhatsApp status, Instagram and TikTok are all vertical, and a vertical frame leaves room for a price or shade name without covering the product.
Keep one product per frame. Clutter splits attention and makes the label harder to read. If you sell sets, shoot the set once as a group, then each item alone.
None of this needs a studio booking. A phone, a window and a white sheet cover the basics. What it does need is consistency: the same light, the same background and the same angle across the whole catalogue.
Set Up a 10-Minute Phone Studio With a Window and a White Sheet
Find the right light
Work near a window during the day, but out of direct sun. Direct sun creates hard shadows and blown-out highlights on gloss and glass. Indirect daylight — a bright room where the sun is not hitting the table — is far easier to control.
Turn off overhead lights and the phone flash. Mixed light sources shift colour, and flash flattens texture while adding a hard reflection to every shiny surface.
Diffuse and bounce
Tape a white bedsheet or a clean white shower curtain between the window and the product. This softens the light. A sheet of white paper or foam board placed on the dark side of the product bounces light back in and lifts the shadows.
Build the base
Use a white bedsheet, plain white paper or a clean tile as the surface. Iron or tape out wrinkles — a crease reads as a shadow in a close-up. For dark or boldly coloured packaging, black cloth or black card can separate the product better than white.
Steady the phone
Clean the lens with a soft cloth before you start. Fingerprints are the most common cause of soft, hazy cosmetic photography.
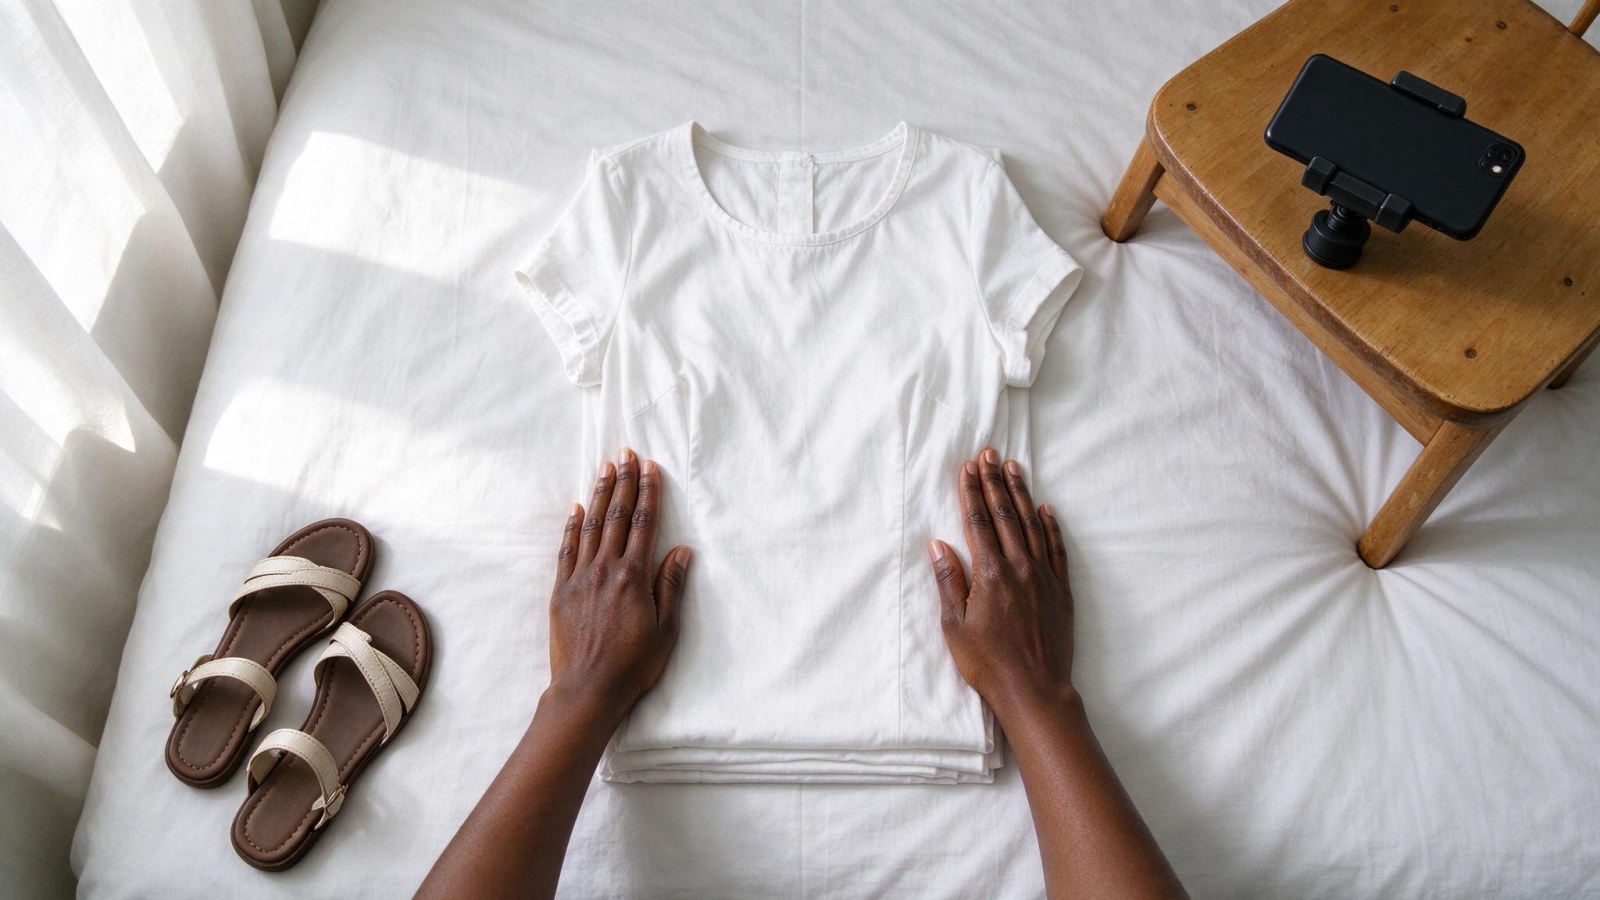
Prop the phone on a stack of books or a cheap tripod. For bottles, put the phone at the product's height. For flat lays, mount it directly above, facing straight down. Keep the same setup for every product in a batch so the feed looks intentional.
Prep Lip Gloss, Palettes and Foundation for the Camera
Small messes look huge in close-up.
- Wipe bottles, caps and palette cases with a dry microfibre cloth. Remove fingerprints, dust and any product smeared on the outside.
- Close caps properly and straighten labels so the text sits level in the frame.
- Clean the neck of a gloss tube. A sticky, overfilled neck reads as sloppy packaging.
- Open palettes fully so every shade is visible. If the palette has a mirror, angle it so it does not throw a bright reflection into the lens.
- For foundation, shoot the bottle and a drop or swatch together so the shade is clear without breaking the seal.
- For gloss, show the wand only if it is clean and unused, or if you are photographing your own tester. Otherwise keep it out and use a hand swatch instead.
Group products by shade family — nudes together, reds together, berries together — so your grid or catalogue looks planned rather than random.
Shoot True Colour Flat Lays Without Filters
Colour accuracy is the whole job in makeup product photography. A shade that looks coral online and arrives orange gets returned.
- Lock focus and exposure. On most phones, tap and hold the product on screen until the focus locks. Check your own camera app, because the gesture differs between brands.
- Lower the exposure slightly. Drag the brightness slider down a little. Gloss and glass highlights recover better when they are not clipped.
- Turn off beauty mode and auto-enhance. These smooth texture and shift colour — the opposite of what a makeup buyer needs.
- Check white balance. If your camera app has a manual or pro mode, set white balance using the white paper as a reference. If not, compare the screen with the real product in daylight.
- Take several frames at each angle. Shoot the flat lay from directly above and the bottle at eye level. Five or six frames per angle costs nothing and gives you a sharp one.
- Compare, then reshoot. Hold the product next to the phone screen in daylight. If the shade has shifted, change the light or the background and shoot again.
Keep the same distance and angle across products. A consistent catalogue looks more professional than a set of individually pretty but mismatched photos.
Kill Glare on Lip Gloss and Glass Foundation Bottles
Shine is the hardest part of a lip gloss photoshoot. The goal is not to remove shine — it is to control where the reflection lands.
- Move the product, not the light. Slide it a little further from the window until the reflection moves off the label.
- Angle the reflection away. Tilt the product slightly so the bright window reflection falls to one side rather than straight into the lens.
- Diffuse harder. Add another layer of white sheet between the window and the product. Two thin layers beat one thick one.
- Use black to kill reflections. Hold a piece of black card on the side where the reflection is strongest. It absorbs light instead of bouncing it back.
- Shoot at a slight angle. Straight-on shots of gloss tubes show a wide white streak. A small turn keeps the shine but reveals the colour underneath.
- Split the job. If glare hides the shade on a glass foundation bottle, shoot one frame for the label and a separate swatch close-up for the colour.
Do not try to paint out glare in editing. If the label or the shade is unreadable, reshoot. It is faster and it looks honest.
Take Hand Swatches and Texture Shots Buyers Ask For
A swatch answers the question a bottle cannot: what does this actually look like on skin?
- Wash and dry hands and forearms. Clean nails, no chipped polish.
- Work in the same window light as the product shots so the colours match.
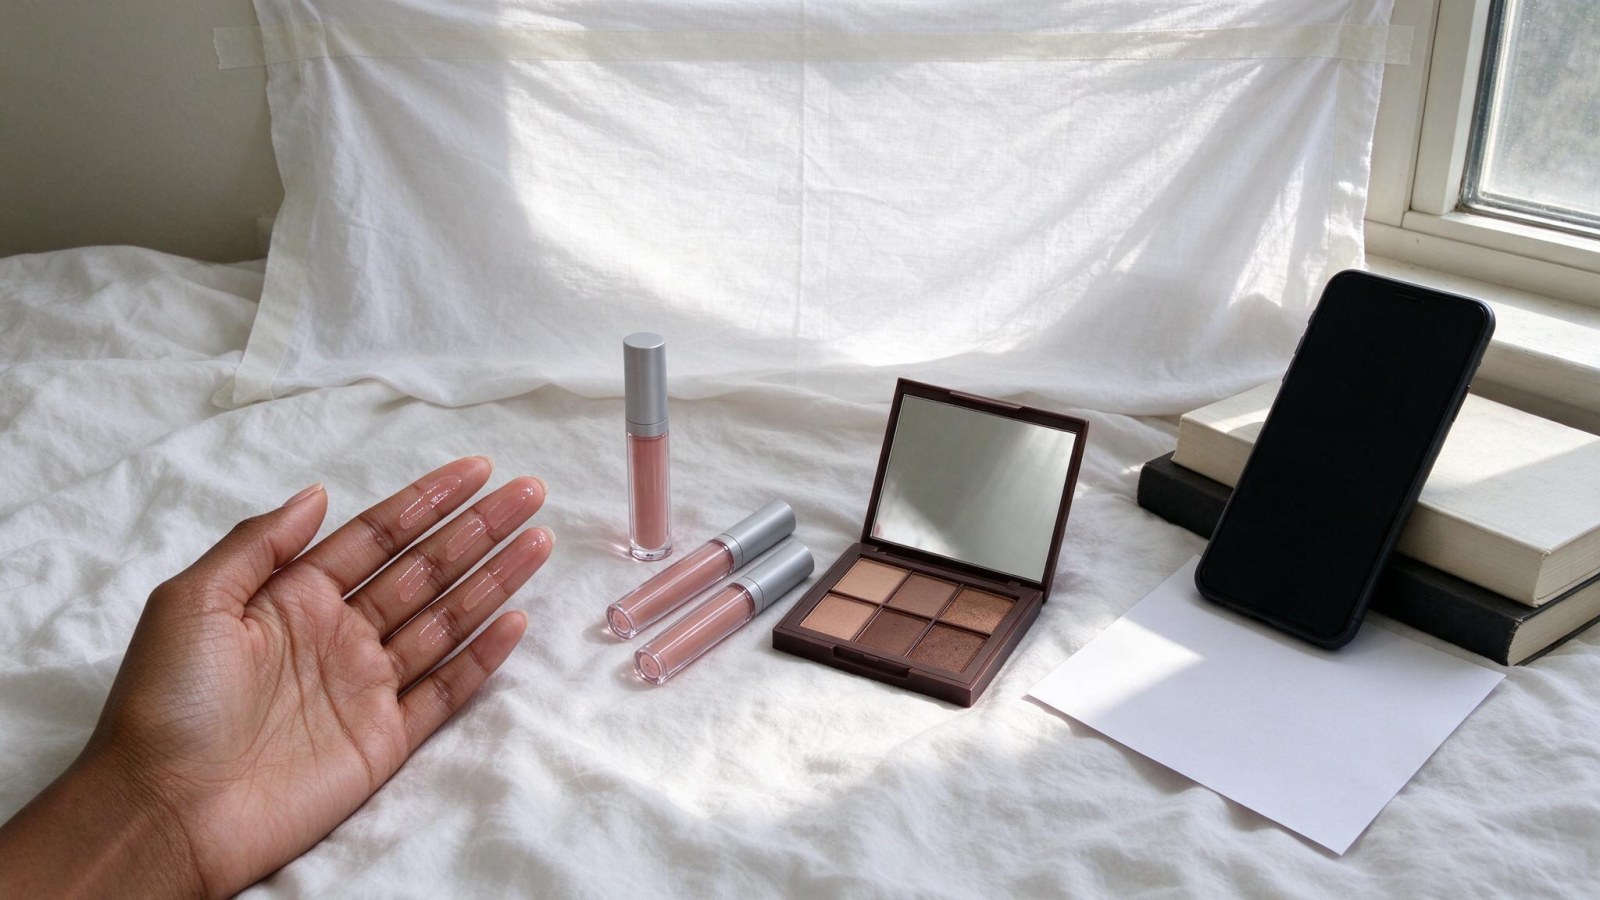
- Place one shade per finger, or draw thin stripes along the inner arm with a small gap between them.
- For gloss, show a thin swipe and a thick swipe side by side so the buyer sees both the tint and the shine.
- For foundation, show a drop and a blended edge so the coverage is visible.
- For palettes, use finger swatches for each shade in the same order as the palette.
- Write the shade name or number on a small paper card and place it in the frame, or list the order in the caption.
- Keep skin tones honest. Do not lighten, smooth or filter the arm — someone matching her own skin needs the real tone.
Shoot these vertically and close. Include a corner of the product in the frame so the swatch is clearly tied to the pack.
Style Clean Backgrounds From Household Items
You do not need props. You need a background that does not fight the product.
- White bedsheet or plain wall — clean, bright, works for almost everything.
- Ceramic tile — a matte tile gives subtle texture without distraction.
- Wooden board — warm and natural, good for nude and brown shades.
- Black cloth or card — makes gold, red and bold packaging stand out.
Add one prop at most: a small stone, a dried flower, a folded card. Keep it away from the label and out of the swatch area. Avoid mirrors, busy patterns, food and anything shiny that will reflect the window.
Pick one background set and use it for the whole batch. That single decision does more for a WhatsApp catalogue than any filter.
Edit Lightly, Then Turn the Best Frame Into a Studio Listing Image
Basic edits only: crop, straighten, brightness, contrast and a little sharpening. Skip heavy filters and skin smoothing — they change the shade and the texture, which is exactly what the buyer is trying to judge.
Then choose the sharpest frame with a readable label and true colour. Keep your original phone shots for swatches and behind-the-scenes posts; they build trust because they look real.
For the listing image itself, WonderClips takes that best phone frame and generates a clean studio shot and a lifestyle scene, sized for Instagram, TikTok and WhatsApp. Cosmetics is one of its supported product types, and it is built for exactly this problem: shine, dull colour and smudged labels that a phone camera struggles with. You upload the photo, choose the output, and get a finished image without booking a shoot.
Start with three products, not thirty. Look at the before-and-after transformations to see what the output looks like, and check pricing first: the free trial gives you 5 credits over 3 days with no card, a standard photo costs 1 credit and a studio-quality photo costs 5.
Your Next Step
Pick your three best-selling products — say a gloss, a palette and a foundation. Shoot them this week using the window-and-sheet setup above: one flat lay, one swatch and one lifestyle frame each. Then create a free account and turn the best frame from each product into one studio shot and one lifestyle scene. If you also sell skincare, the beauty photography category has more phone-first guides.
Frequently asked questions
Can I do a cosmetic photoshoot with just my phone and window light?
Yes. Indirect daylight from a window, a white sheet taped up as a diffuser and a plain white surface cover the basics for gloss, palettes and foundation. Turn off overhead lights and flash, steady the phone on books or a tripod, and shoot vertical frames. The main limits are glare on shiny packaging and colour shift from filters, both of which you can control with the setup in this guide.
How do I stop lip gloss and foundation bottles from looking shiny or glared?
Move the product rather than the light. Slide it away from the window until the reflection falls off the label, tilt it slightly so the bright streak lands to one side, and add a second layer of white sheet as a diffuser. A piece of black card held on the strongest reflection absorbs it. If the shade is still hidden, shoot a separate swatch close-up for the colour.
What shots should I include for makeup sold on WhatsApp?
Shoot three: a clean flat lay with the label readable, a hand swatch or texture close-up showing the real shade, and one lifestyle or in-use frame. Keep them vertical so they fit a status without cropping, and keep one product per frame. List the swatch order in the caption so buyers can match each shade to the pack.
Do I need a model for makeup product photography?
No. A clean flat lay plus a hand swatch covers most of what a buyer needs to judge shade, finish and packaging. A model helps for lifestyle frames, but you can create those separately from your best product photo instead of organising a shoot with a person, which costs time and money you may not have spare.
How do I get true-to-life colour in makeup photos?
Use indirect window light, turn off flash and overhead lights, and switch off beauty mode and auto-enhance. Lock focus and exposure by tapping and holding the product, then lower exposure slightly to protect highlights. Compare the phone screen with the real product in daylight before you shoot the full batch, and reshoot any frame where the shade has shifted.