Clothing Brand Photoshoot on a WhatsApp Budget: Launching a New Drop With AI Model Photos
A launch-week plan for a 10–20 piece drop: which pieces need on-model shots, which need lifestyle scenes and which only need a clean studio image — plus how to keep one model look across the collection.
In this article
A clothing brand photoshoot for a new drop does not have to mean a studio, a photographer and a paid model on the same day. What it actually needs is a shot list, one model look used across every piece, and a clean phone photo of each garment. Get those three things right and you can produce on-model, lifestyle and studio images for a 10–20 piece drop, then spread them across launch week on Instagram, WhatsApp and TikTok.
This is a working plan for a small clothing brand doing everything from a phone — the kind of seller running a Lagos boutique, a wig-and-styling page or an Instagram label that takes orders in DMs. No crew, no studio booking, no waiting for a photographer to send a folder three weeks after the drop has gone cold.
Start with a shot list, not a photographer
Before you think about photos, list every piece in the drop. A notebook page or a notes app is enough. For each piece write four things:
- The piece and its price
- What the buyer needs to see: fit, fabric, length, colour, how it sits on a body
- The one photo type that shows it best
- Where it will be posted: feed, WhatsApp status, TikTok, WhatsApp catalogue
Ten to twenty pieces is a manageable drop. More than that and the launch gets muddy — you run out of posting days, and the weaker pieces drag down the strong ones.
Sort every piece into three buckets
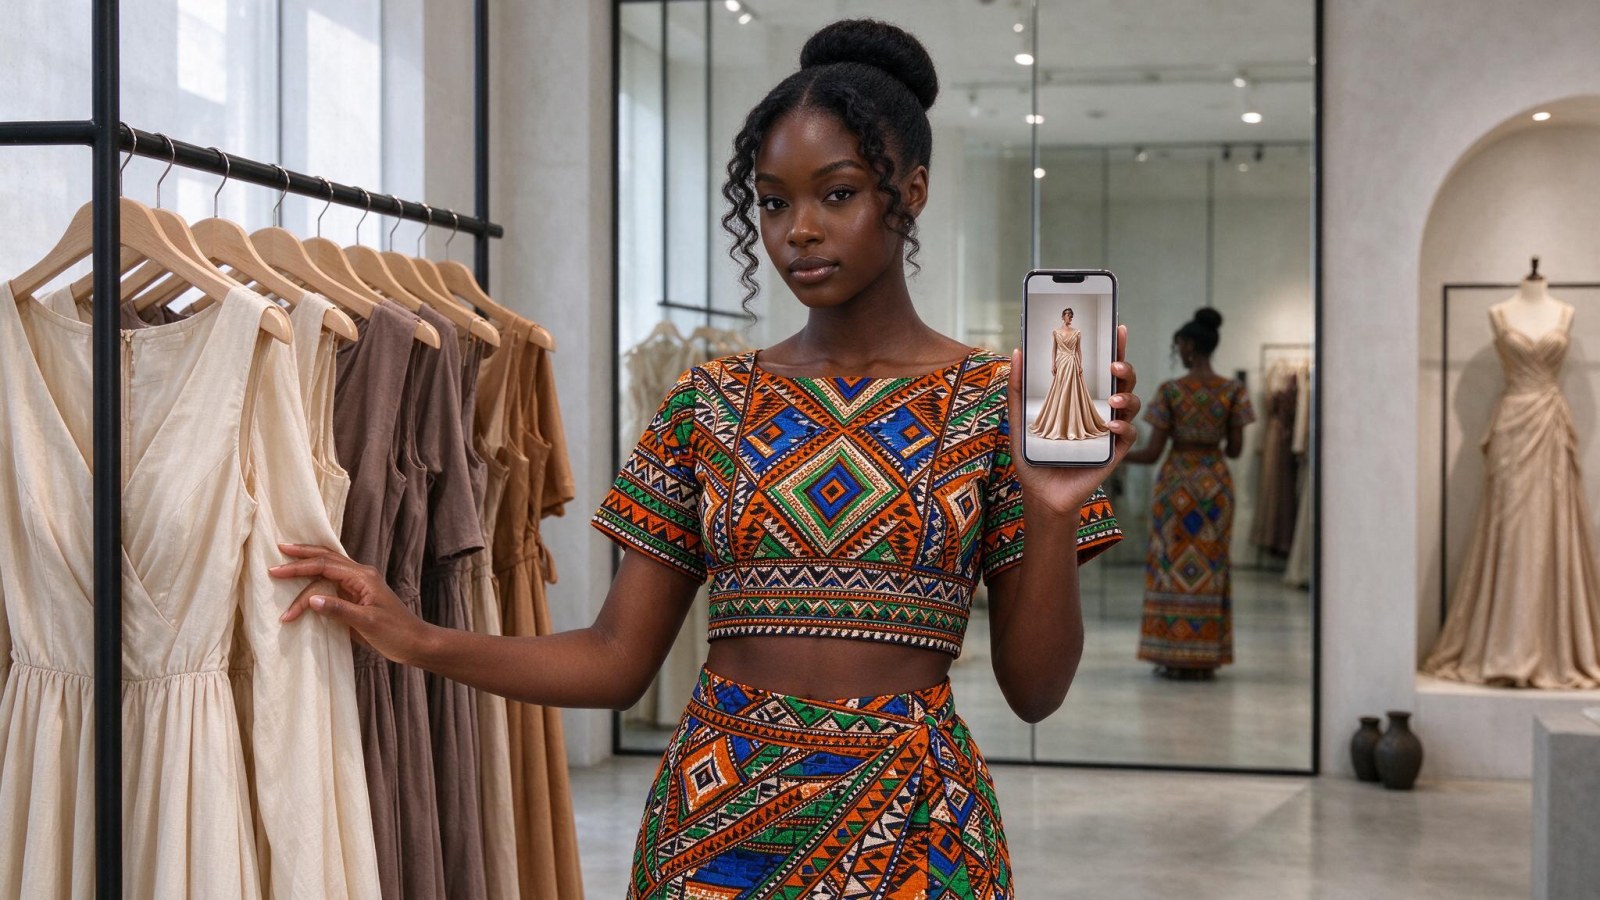
Bucket 1 — on-model. Anything where fit and drape is the reason someone buys: wrap dresses, two-piece sets, kaftans, boubou, jumpsuits, tailored trousers, corset tops. Also every hero piece — the one you expect to sell most, the one people will DM about, the one in the first slide of your carousel. On-model shots answer the question a flat lay cannot: what will this look like on me?
Bucket 2 — lifestyle. Pieces sold as an outfit or a mood: matching sets, loungewear, brunch dresses, anything you would style with shoes and a bag. A lifestyle scene puts the garment in a room, a street or a café so the buyer can picture wearing it — and it gives you something to post on the days when a plain product shot would feel repetitive.
Bucket 3 — clean studio. Basics, restocks, accessories, and pieces where the cut and colour are obvious at a glance. Plain background, even light, nothing competing. This bucket is also your safety net: a low-stock piece or a slow mover only needs one clean image to stay in the drop.
A simple rule: every piece gets at least one image, hero pieces get three — front on-model, a back or detail shot, and one lifestyle scene.
Keep one model look across the whole drop
The fastest way to make a small brand look established is consistency. The fastest way to make it look like a reseller's page is a different face on every slide.
- Pick one model look and reuse it for every piece in the drop. Two at most — for example one for womenswear and one for menswear, or two skin tones if that is who you sell to and you want the feed to reflect it. What you must not do is change the face piece by piece.
- Keep the same background family. Same wall colour, same light, same mood across the set.
- Keep the same crop. 4:5 for the Instagram feed, 9:16 for status and TikTok. Mixed crops are what make a grid look stitched together.
- Keep the same pose family. Standing front, three-quarter, walking. A collection shot the same way reads as a collection.
Write the choices down in a note on your phone — model description, background, crop, pose — so the next drop looks like the same brand and not a new one.
The phone photo you feed in
The output is only as good as the input. Before you generate anything, take one clean photo of each piece:
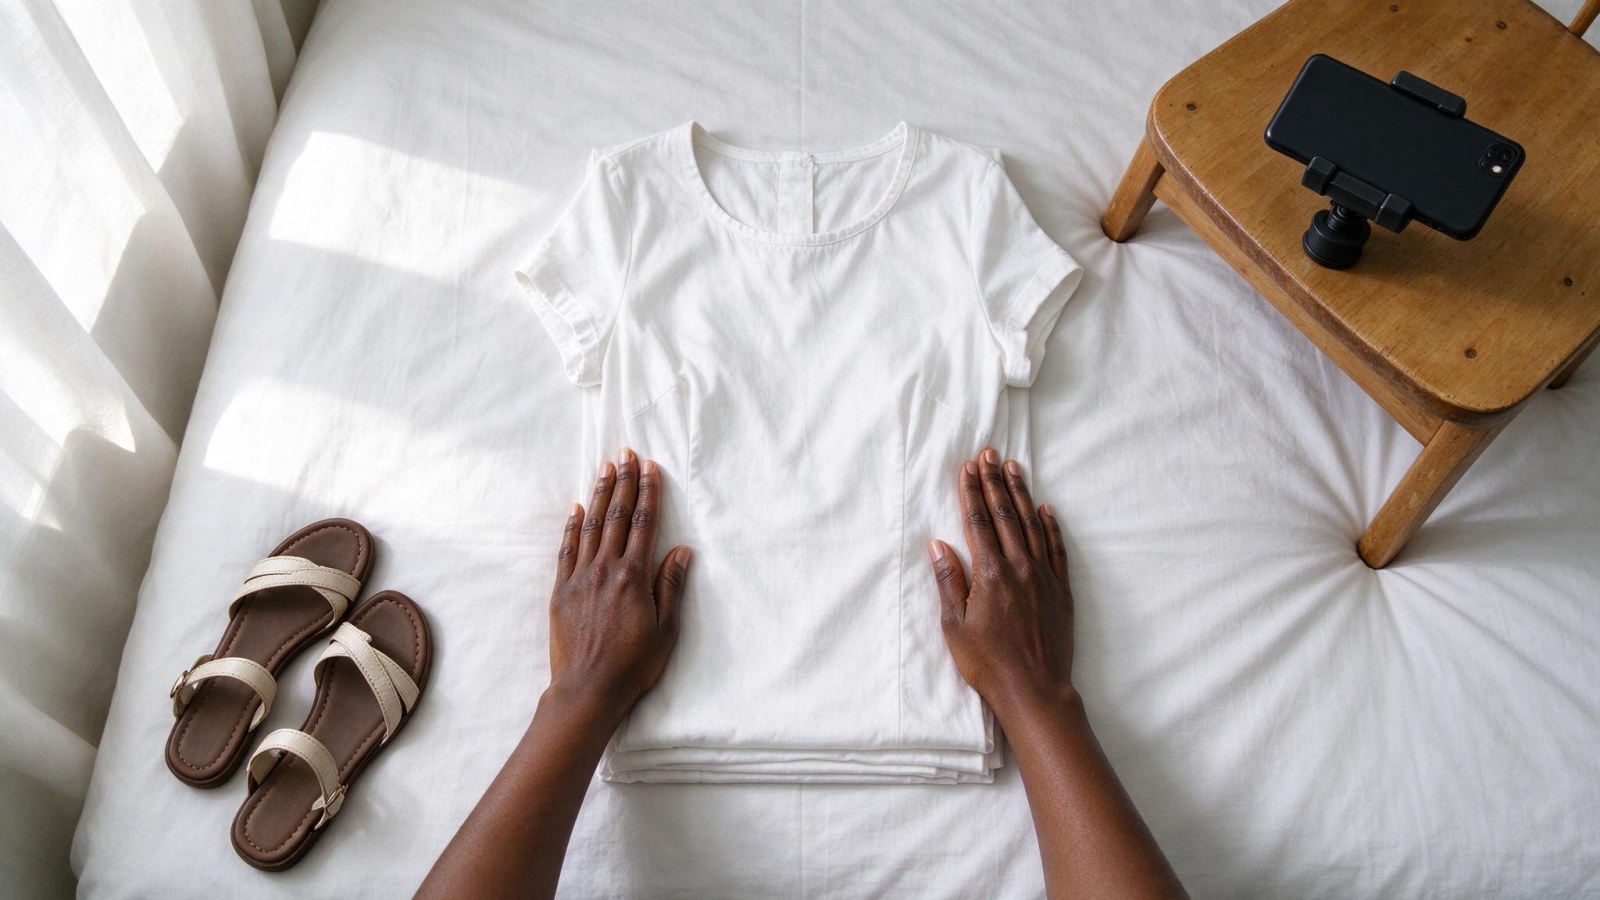
- Hang the garment on a hanger against a plain wall, or lay it flat on a bedsheet in daylight.
- Stand near a window in the morning or late afternoon. No flash, no overhead bulb.
- Fill the frame with the garment. One piece per photo.
- Smooth out creases, button it up, add the belt if the belt is part of the look.
- Clear the frame — no shoes, no stray hangers, no edge of the bed.
- Skip filters and heavy edits. You want the real colour.
If flat lays are your main method, read this phone-only flat lay formula before you shoot the drop. Ten minutes of better input saves a whole round of retakes.
Where WonderClips fits
You take the phone photo; WonderClips puts the piece on an AI model, builds a lifestyle scene, or produces a clean studio shot, sized for Instagram, TikTok and WhatsApp. For the pieces in buckets one and two, that replaces the model, photographer and studio booking — and it means the model look stays identical across all fifteen pieces instead of changing with whoever was free that weekend.
A standard photo costs 1 credit and a studio-quality photo costs 5, so count your hero pieces first and spend the 5-credit images there. Fifteen pieces at two standard images each is 30 credits; add five hero images at studio quality and you are at 55. The Starter plan gives 80 credits a month for $12, and there is a free trial of 5 credits for 3 days with no card — enough to test one piece before you commit the whole drop. See plans and credits for the full breakdown.
You can see what the output looks like before you start in the before-and-after gallery.
Launch week: the posting sequence
Photos done is not the same as launch planned. Work backwards from launch day.
Seven days out: the teaser
One image only. A tight crop of your strongest on-model shot — the shoulder, the sleeve, the waist — no full look, no price. Post it to the feed and the same image to WhatsApp status with one short line: "New drop. Friday." That is the whole post. Curiosity does the work.
Five days out: the detail carousel
Three or four images: fabric close-up, the back, the lining, the buttons, the stitching. This is where you teach quality. Buyers who cannot touch the garment are looking for proof that it is not thin, not shiny, not badly finished.
Three days out: styling and early access
Post the lifestyle image of your hero piece and show how you would wear it — shoes, bag, jewellery. Send a WhatsApp broadcast to your regulars with early access and a time. Early access is the cheapest loyalty tool you have, and it works better than a discount.
One day out: the full grid
Post a grid preview or put a countdown sticker on status. Have your price list ready in a note so you can paste it into DMs without thinking. Answer every "how much?" the same day.
Launch day
- Instagram: a carousel with the best on-model shot of the hero piece first, then one image per piece in drop order. Price, sizes and "DM to order" in the caption, and the full price list as the first comment.
- WhatsApp: status with the hero image and a link, update your catalogue with the new images, and broadcast to your list once — not three times.
- TikTok: a photo slideshow of the on-model images over a trending sound, plus one short video of you holding the real garment next to the shoot image. That real-versus-shoot comparison performs because it proves the piece exists.
Days two and three: proof and restocks
Post restock notices, sold-out stickers and real customer photos or DM screenshots (with permission, and only real ones). Keep two or three images in reserve for the restock post — nothing kills momentum like a sold-out piece with no photo to announce its return.
Mistakes that make a drop look cheap
- A different model on every slide.
- Busy backgrounds that fight with the garment.
- Twenty flat lays and no on-model shots, so nobody can judge fit.
- Reusing last drop's images for a new piece.
- Announcing only on launch day, to an audience that had no warning.
- No price anywhere, so every interested buyer has to ask.
Your next step
Tonight, write the shot list for your next drop: every piece, its bucket, and where it will be posted. Shoot the phone photos in tomorrow's daylight, generate the on-model and lifestyle images for the hero pieces first, and schedule the teaser, carousel, status and TikTok posts in your calendar before launch day. You can create a free account and start with the trial credits — one piece is enough to see whether the model look suits your brand before you do the whole collection.
More phone-first shooting advice for small sellers is in the product photography tips section of the blog.
Frequently asked questions
How many photos do I need for a 10–20 piece clothing drop?
At least one image per piece, and three for each hero piece: a front on-model shot, a back or detail shot, and a lifestyle scene. For fifteen pieces that is roughly 30 images — enough for the launch carousel, WhatsApp status, your catalogue and a restock post later.
Which pieces need an on-model photo instead of a flat lay?
Anything where fit and drape decide the sale: wrap dresses, two-piece sets, kaftans, jumpsuits, tailored trousers and corset tops. Basics, restocks and pieces with an obvious cut can go out as a clean studio image. Hero pieces should always be on-model.
How do I keep the same model across a whole collection?
Choose one model look before you start and reuse it for every piece in the drop, with the same background, crop and pose family. Write the choices down so your next drop matches. A different face on each slide is what makes a small brand's feed look like a reseller's page.
What kind of phone photo works best as an input?
One garment per photo, hung on a hanger against a plain wall or laid flat on a bedsheet, shot in daylight near a window with no flash. Fill the frame, smooth the creases and leave out shoes, hangers and clutter. Skip filters so the colour stays true.
When should I start posting before a launch?
About a week ahead. A teaser seven days out, a detail carousel at five days, styling and early access at three days, a grid preview the day before, then the full carousel, WhatsApp status and TikTok on launch day. Keep two or three images back for restock posts.